Live
#WebinarAlert#CosmeticDentistry
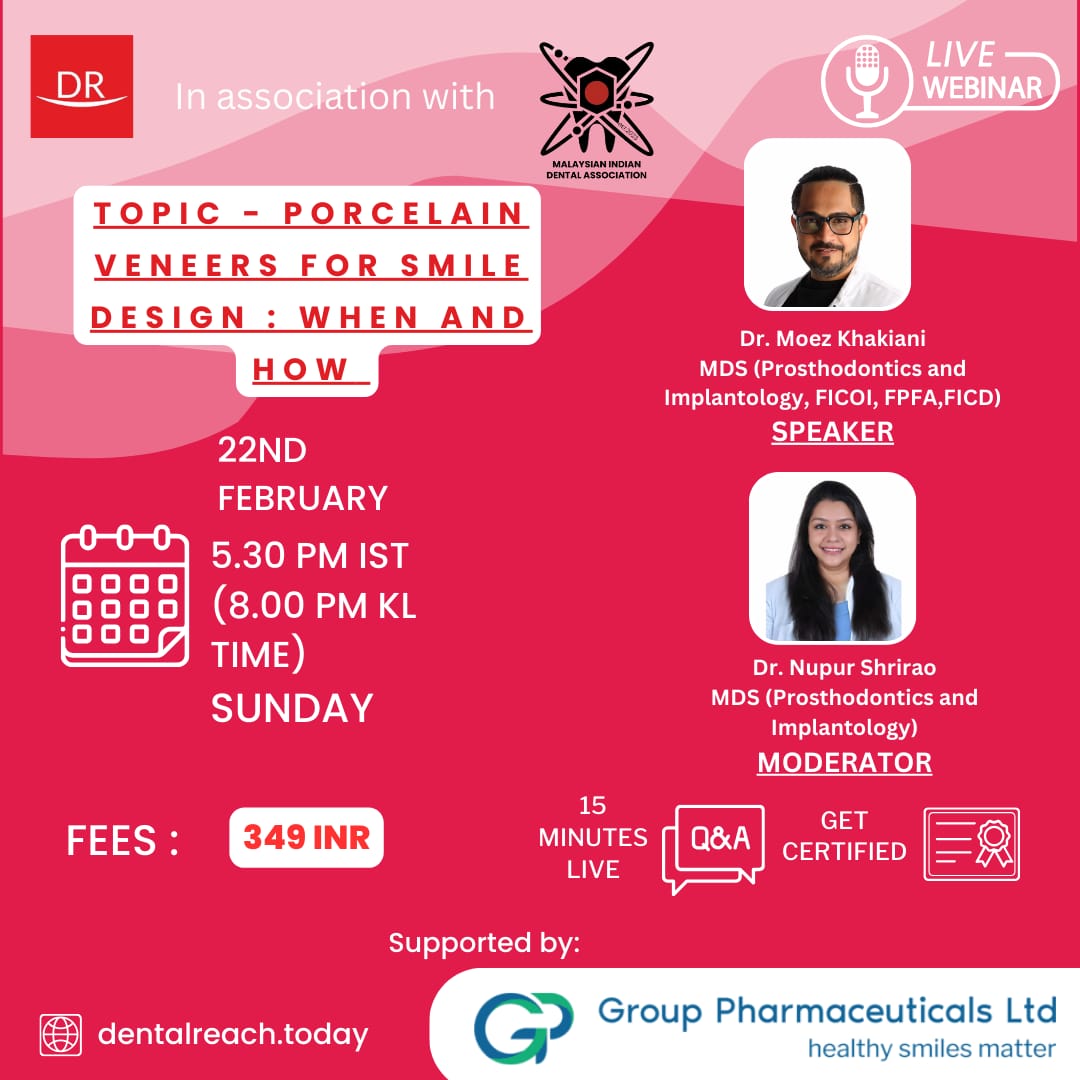
Porcelain Veneers: Precision, Planning & Predictability
Porcelain veneers aren’t just about aesthetics—they’re about precision, planning & predictability. Learn when to choose veneers and how to execute them right!
Expert Dr Moez Khakiani
Register here